Enable CDN
Enabling the Content Delivery Network (CDN) in SharePoint Framework (SPFx) can significantly improve the performance of your SharePoint Online pages by caching static assets closer to the users. Here’s a step-by-step guide to enable the Microsoft 365 CDN for your SPFx solutions:
- Connect to SharePoint Online:
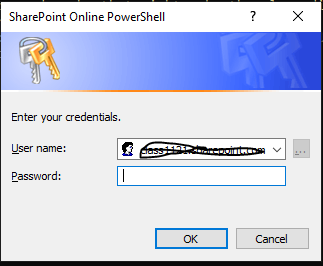
- Open the SharePoint Online Management Shell and connect to your SharePoint Online tenant using the following command:
- Open the SharePoint Online Management Shell and connect to your SharePoint Online tenant using the following command:
- Enable the Public CDN:
- Run the following command to enable the public CDN: Set-SPOTenantCdnEnabled -CdnType Public
- Add Origins to the CDN:
- Specify the origins (libraries) that should be included in the CDN. For example:
Add-SPOTenantCdnOrigin -CdnType Public -OriginUrl */sites/CDNLibrary
- Specify the origins (libraries) that should be included in the CDN. For example:
- Verify CDN Settings:
- Check the status of your CDN settings with these commands:
- Get-SPOTenantCdnEnabled -CdnType Public
- Get-SPOTenantCdnOrigins -CdnType Public
- Get-SPOTenantCdnPolicies -CdnType Public
- Check the status of your CDN settings with these commands:
Disable CDN
To disable the Content Delivery Network (CDN) for your SharePoint Framework (SPFx) solutions, you can use the following steps:
- Connect to SharePoint Online:
- Open the SharePoint Online Management Shell and connect to your SharePoint Online tenant: Connect-SPOService -Url https://your-tenant-admin.sharepoint.com
- Disable the Public CDN:
- Run the following command to disable the public CDN: Set-SPOTenantCdnEnabled -CdnType Public -Enable $false
- Remove CDN Origins:
- If you have specific origins set up for the CDN, you can remove them using: Remove-SPOTenantCdnOrigin -CdnType Public -OriginUrl */sites/CDNLibrary
- Verify CDN Settings:
- Check the status of your CDN settings to ensure they are disabled:
- Get-SPOTenantCdnEnabled -CdnType Public
- Get-SPOTenantCdnOrigins -CdnType Public
- Get-SPOTenantCdnEnabled -CdnType Public
- Check the status of your CDN settings to ensure they are disabled: